Epson NX430 Driver for Windows
How to Install the Epson NX430 Driver?
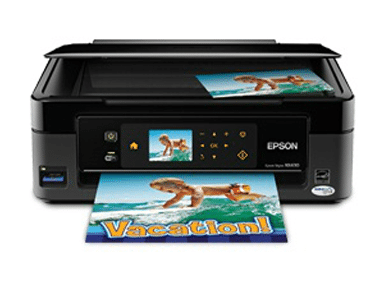
The Epson NX430 is an outstanding printer that will help you do a lot of great things. However, you must install the correct driver before you can use it. In this article, you will learn how to install the driver and set it up.
Download Epson NX430 Driver (Here)
Installing the driver:
In case you are a PC owner with an Epson NX430, there are some ways to get the most out of your printer. For starters, you can get a software update from the manufacturer. This will include a free printer driver. You will also need to connect your machine to the Internet.
The simplest and most direct way to install a driver is through a built-in Windows feature called Device Manager. Once you open this window, you can select all devices that are registered to your computer. Now you need to click the Update Driver button to get started. Typically, the update takes about 15 minutes to complete, but that can vary depending on the version of Windows you have installed.
To find the best and most appropriate driver for your model, you can look for the name of your product in the search box, or perform a more in-depth search using the model initials. If you want to go the bare minimum, you can always install the free Epson drivers that are available on the manufacturer’s website.
Setting up the printer driver port correctly:
Setting up the printer driver port correctly will allow you to communicate with your printer. When using a Windows computer, the printer driver controls the connection settings between the computer and the printer. The printer driver works with the printing applications to create print commands.
Depending on your setup, the printer port may be local, network, or a standard TCP/IP port. You can change the port to another type if necessary. Once you configure the port, the computer will automatically detect the printer and install the driver.
If you are using a Windows PC, you can download the printer driver from the manufacturer’s website. This is the best way to ensure you are getting the correct driver version. Alternatively, you can use the WinSoftDrivers website.
To set up the printer driver port, you will need to make sure that the printer has an IP address and a model number. In addition, you will need to follow the installation instructions on the printer’s manufacturer’s website.
Checking the correct IP address:
When you are trying to connect your Epson printer to your home Wi-Fi network, you may need to check the correct IP address. This helps your computer transmit data correctly and lets your other devices find your printer.
Your device’s IP address is the number assigned to each networked device. If you haven’t set up your router, you can do so using the DHCP protocol. However, this only works if you haven’t disabled DHCP.
Another way to find your printer’s IP address is through the on-board menu. In the General tab, you may see the Locations box. You can also use the Windows command prompt to get this information.
You can also use Epson’s own network setup tool, EpsonNet Setup, to set up your printer on your home network. It can also help you verify your IP address, subnet mask, and default gateway.
Finally, you can check the status of your networked devices to make sure that they are working properly. For example, you can use the netstat command to look at the list of all connected devices.
Using the buttons on the printer to select wireless settings:
If you want to set up your printer to connect to the wireless network in your home, you can do it using the buttons on the printer. However, make sure that you’ve already connected to the wireless network and that the printer is in range of the network.
To do this, you’ll have to follow a series of steps. In the first step, you’ll need to select the wireless network name from the device. Next, you’ll need to enter the network password.
When you’ve done this, you’ll see a screen asking for confirmation. You should click ok to continue. After that, you’ll be able to enter additional information.
The screen will then display a wireless network name, a Wi-Fi password, and the strength of the wireless LAN signal. This will allow you to select the wireless connection that you prefer.
In some cases, you may need to hold the wireless button for five seconds. When the blue light on the printer’s LCD starts blinking, you’ll know that you’ve successfully connected to the network.