Intel USB 3.0 Driver Windows 10

How to Install the Intel USB 3.0 eXtensible Host Controller Driver for Windows 10?
If you are looking for an updated driver for the Intel USB 3.0 eXtensible host controller, this article is for you. You will learn how to install the latest version manually or automatically. To get your computer working smoothly again, download the latest driver and follow the instructions to install it on your PC. These steps should take you less than 5 minutes. You will need a free system information tool to help you find the right driver for your motherboard.
Download Intel USB 3.0 Driver Windows 10 (Here)
Installing the Intel USB 3.0 eXtensible Host Controller driver:
In order to install the Intel USB 3.0 eXtendible Host Controller driver for Windows 10, you will need to have administrator rights. You will also need to close all applications and clear the Taskbar before continuing. After the installation is complete, reboot the computer. This will install the latest driver for your USB 3.0 devices. Now, you can use the USB 3.0 port to connect to other devices, such as your mouse or keyboard.
In order to install the Intel USB 3.0 eXtendible Host Controller driver for Windows 10, you will need to use the Drivers Update Tool. This software program can automatically determine the correct driver for your computer and download and install the latest version for you. This software is easy to use and contains only the latest versions from the official manufacturers. It also supports Windows 10, 8.1, and Vista (64-bit).
Manually updating the driver:
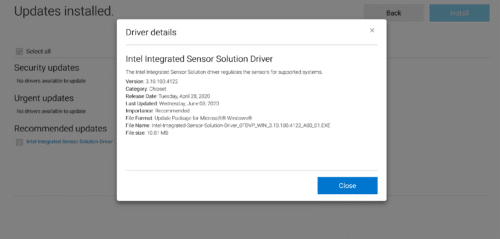
There are two methods for updating Intel USB 3.0 drivers for Windows 10: manually and through the Windows Update service. Manually updating the USB driver requires some patience and technical know-how, and you should do this only when absolutely necessary. Manually updating the USB driver is not recommended for older OSes, such as Windows XP or Vista. To update the driver, go to the Device Manager and right-click the device. Then, select Update Driver Software. Browse through the driver list until you find the driver you need.
A software-driven process is easier to complete. Regular scanning is also beneficial for your system’s stability and reliability. If manual updating is not a viable option for you, try using Driver Support ONE. It costs $9.99 a month and has a host of safety and optimization features. If you aren’t comfortable with manual updating, check out their free trial offer. You can also try to download the software from peripheral manufacturers.
Automatically updating the driver:
If you have a USB 3.0 port on your PC, it is necessary to update its driver periodically. Otherwise, your computer may not recognize it and will not be able to use it. A USB 2.0 port is the black or blue one, with 4 or 9 pins, but does not have an SS marking. You can download and install the latest USB 3.0 drivers automatically using a driver update tool.
The next step involves finding the driver update tool. You can do this by searching the support website of your peripheral manufacturer. There you will find the most updated driver for your device. To install it, you should enter the information provided on the support page. Once you have a copy of the latest driver, you must note where you downloaded it from. You must also note the filename. When you’re finished, click the “Update Driver” button on the tool’s home screen.